

Crispy Buffalo Chickpeas are an easy roasted chickpea recipe with crunchy texture and bold Buffalo flavor in every bite. Canned chickpeas are roasted until crisp before being tossed with buttery hot sauce and returned to the oven so the coating can set.
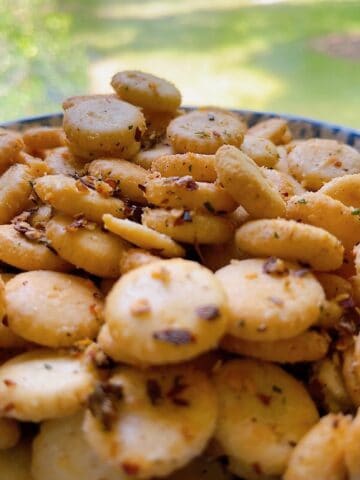
If you enjoy easy savory snacks like this, try our Firecracker Oyster Crackers or this Creamy Buffalo Chicken Dip.
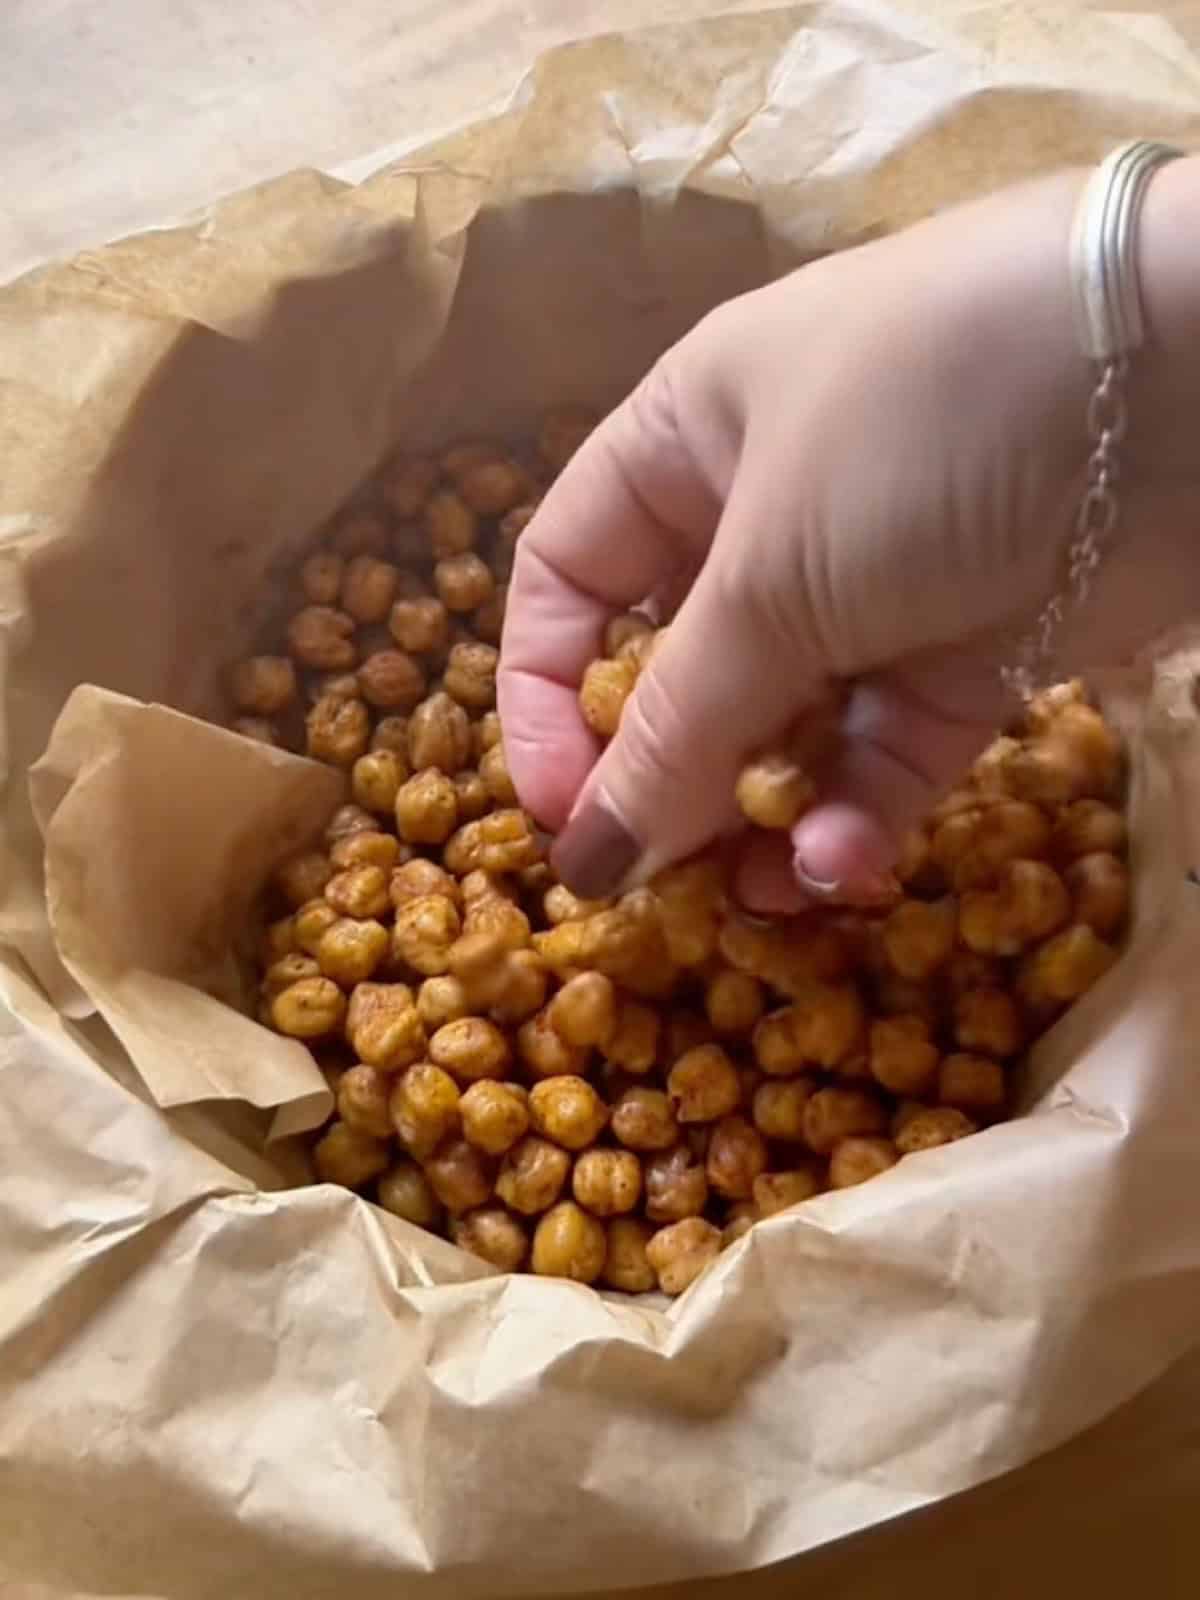
Crispy Buffalo Chickpeas at a Glance 🔎
- 🕒 Prep Time: 10 minutes, plus 20-30 minutes drying
- ⏱️ Cook Time: 30 to 35 minutes
- 👥 Servings: 6
- 🔥 Cook Method: Oven-Roasted
- 🍽️ Cuisine (or General Category): American
- 👩🍳 Pair With: Ranch or blue cheese dressing, celery sticks, Crispy Potato Skins, Blue Cheese Wedge Salad
- ⭐ Difficulty Level: Easy
Need an AI‑Friendly Version? Summarize or save this recipe.
Disclaimer: AI summaries may vary and are not guaranteed to match the original recipe provided here.
We let these roast until truly crisp before saucing, then bake them again briefly. They're great scattered over a crisp chopped salad. ~Jami
Jump to:
Why We Love This Recipe
- Actually Crispy: Roasting the chickpeas until they're crunchy before adding the Buffalo sauce helps prevent the soft, chewy texture that can happen when they're sauced too early.
- Easy Pantry Snack: Canned chickpeas eliminate soaking and boiling, making this an easy recipe to pull together with ingredients you can keep on hand.
- Classic Buffalo Flavor: Hot sauce and melted butter create the familiar tangy, buttery heat of Buffalo sauce without requiring a long ingredient list. If you love that flavor, our Buffalo Chicken Wings With Garlic Buffalo Sauce is another easy way to get it on the table fast.
- Easy to Adjust: Keep the chickpeas moderately spicy or add the optional paprika and cayenne finishing dust when you want more heat.
Key Ingredients
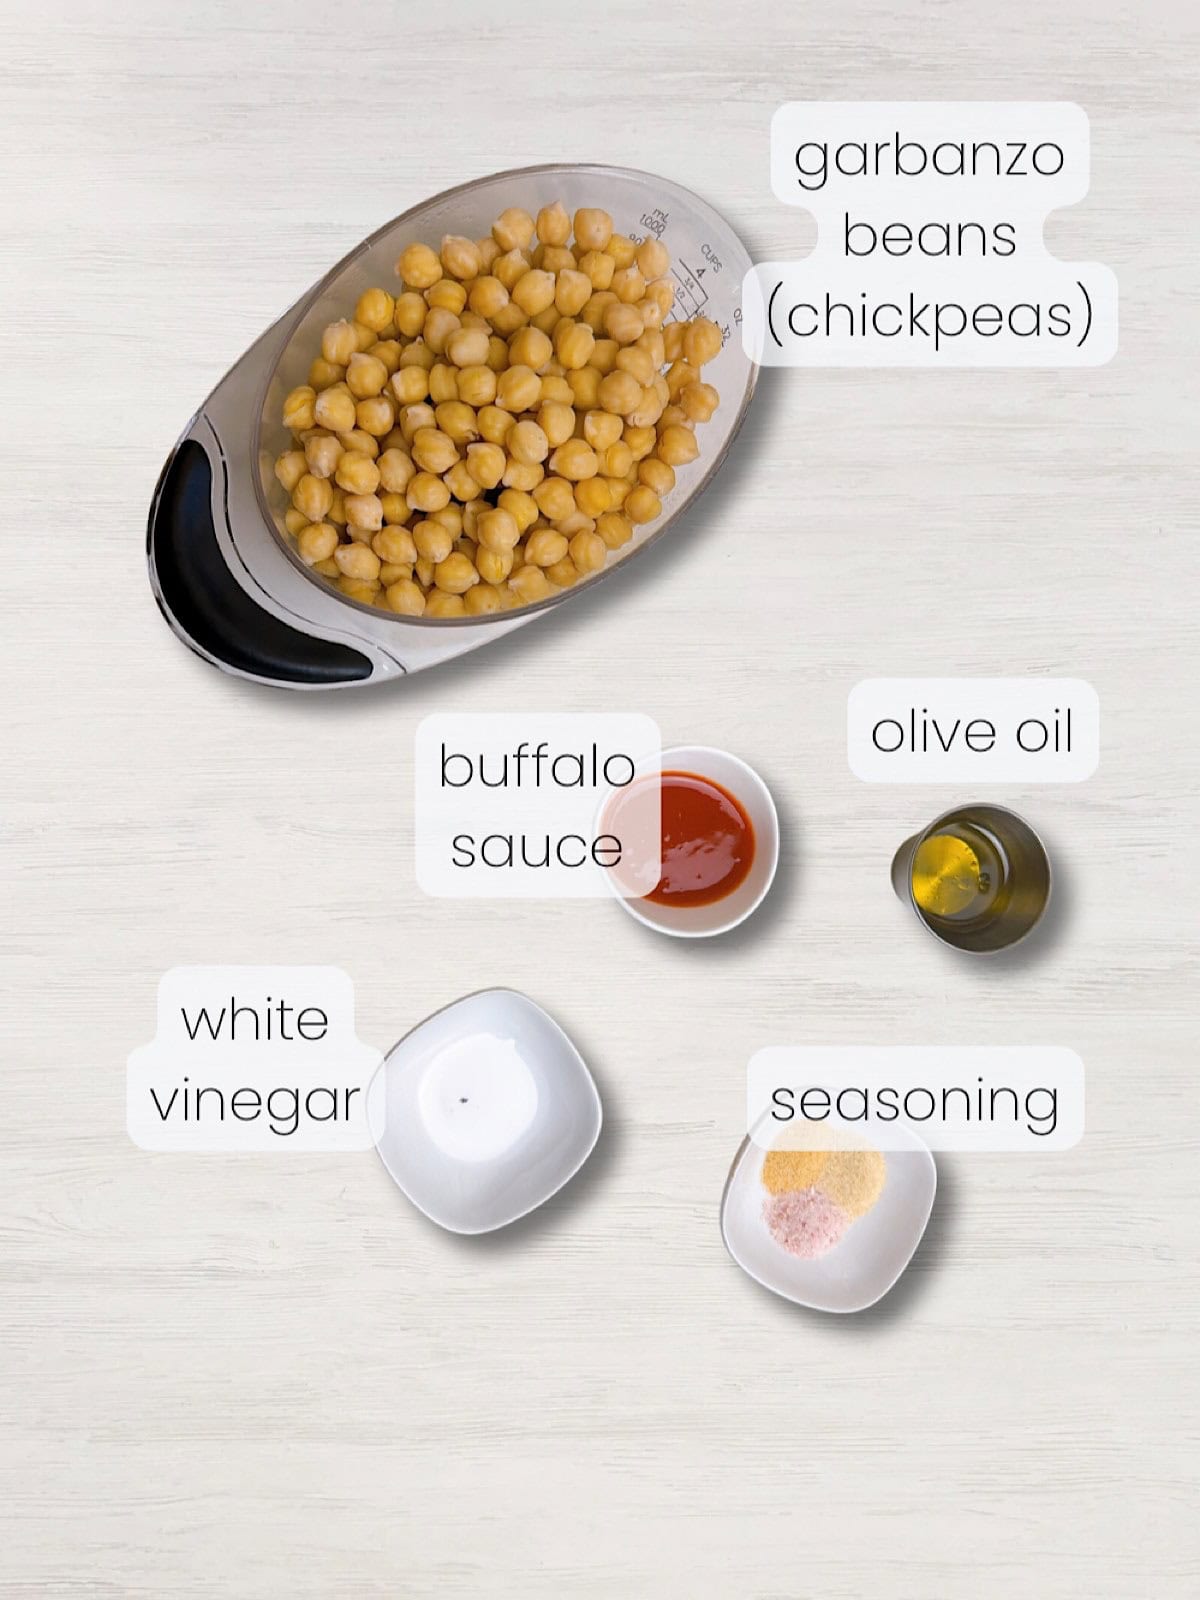
- Canned Chickpeas: Canned chickpeas make this recipe much simpler than chickpeas cooked from dried. Drain and rinse them thoroughly, then spend a little extra time drying them. Moisture left on the surface has to evaporate before the chickpeas can begin to crisp.
- Olive Oil: A light coating helps the chickpeas roast evenly and gives the dry seasonings something to cling to. Toss until they have a thin, even coating before spreading them across the pan.
- Garlic and Onion Powder: Powdered seasonings work especially well here because they distribute evenly without introducing additional moisture.
- Hot Sauce: Frank's RedHot or Crystal both work well. Buffalo sauce needs a vinegar-forward hot sauce rather than a thick chili sauce, but remember that you're adding moisture back to chickpeas you've worked hard to crisp. That's why the second trip to the oven matters.
- Unsalted Butter: Butter mellows the sharp acidity and heat of the hot sauce and gives the coating its familiar Buffalo flavor. Using unsalted butter gives you better control over the final seasoning.
- Paprika and Cayenne: The optional finishing dust adds extra color and heat after roasting. Keep it optional if you're serving people with different spice preferences.
A full ingredient list with exact measurements can be found in the recipe card below.
Substitutions & Variations
- Hot Sauce: Frank's RedHot and Crystal are both good choices. Choose a thin, vinegar-forward cayenne pepper sauce rather than a thick hot sauce.
- Unsalted Butter: Substitute vegan butter to make vegan Buffalo chickpeas.
- Olive Oil: Avocado oil can be used in place of olive oil for roasting.
- Extra Hot: Add the optional paprika, cayenne, and salt mixture while the chickpeas are still hot from the oven.
How To Make Crispy Buffalo Chickpeas
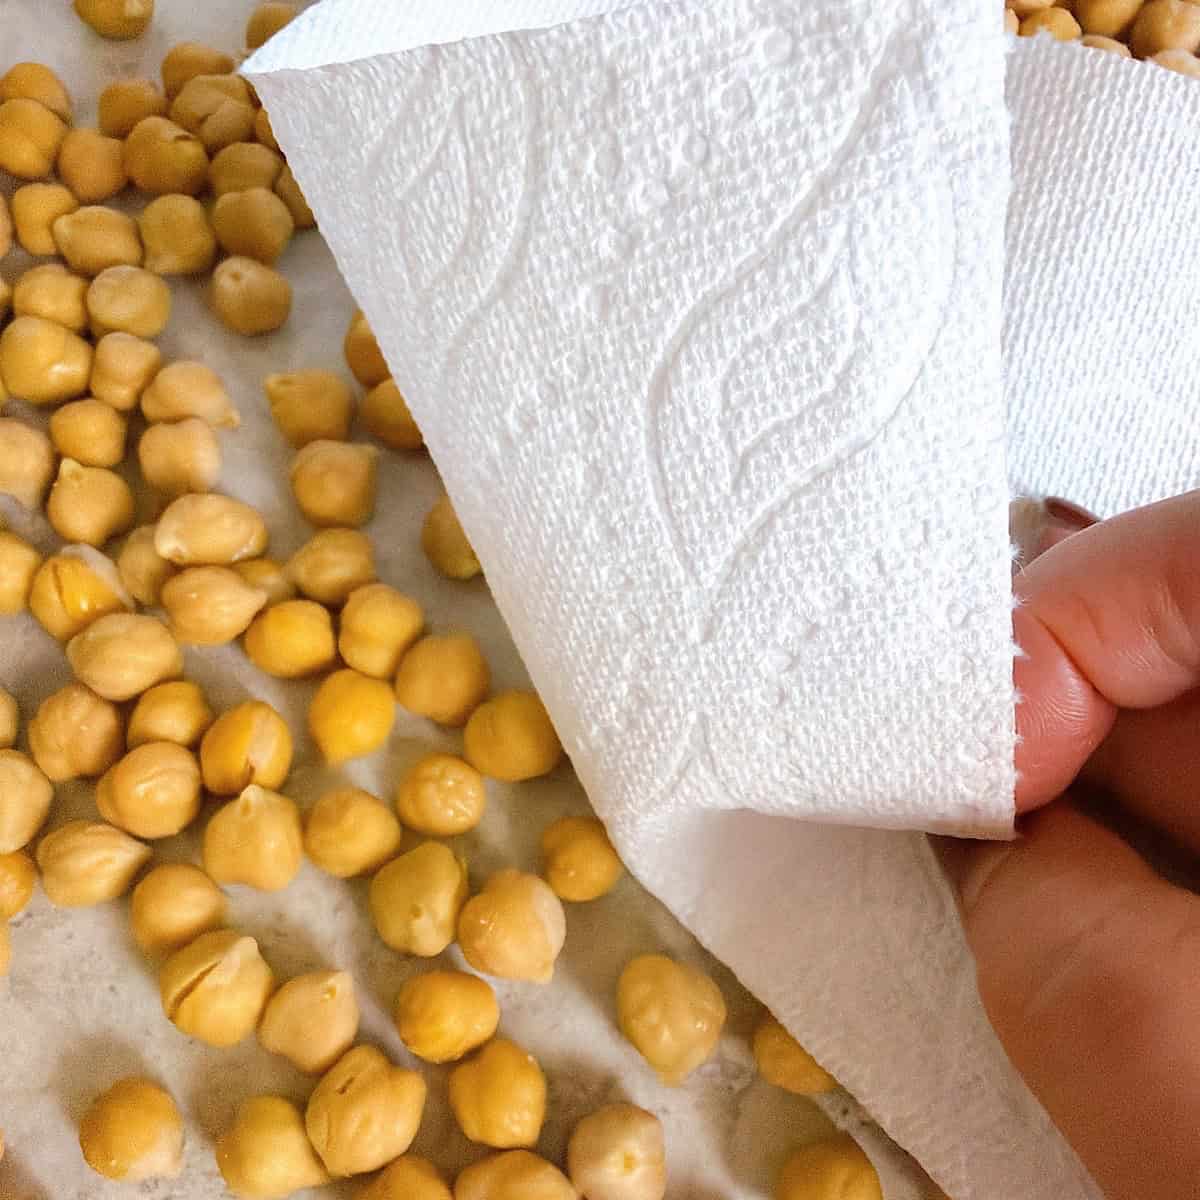
STEP ONE: Dry the Chickpeas Thoroughly
Drain and rinse the canned chickpeas, then spread them over a clean kitchen towel or paper towels. Pat them thoroughly dry and let them sit for 20 to 30 minutes if time allows.
You'll probably see some chickpea skins loosen while you're drying them. Remove the loose ones, but don't spend time peeling every chickpea.
The important part is getting rid of surface water. Chickpeas that go into the oven wet have to steam and dry before they can begin developing a crisp exterior.
We take the same approach with our crispy cauliflower bites - drying the surface before roasting is what separates truly crunchy from just toasted.
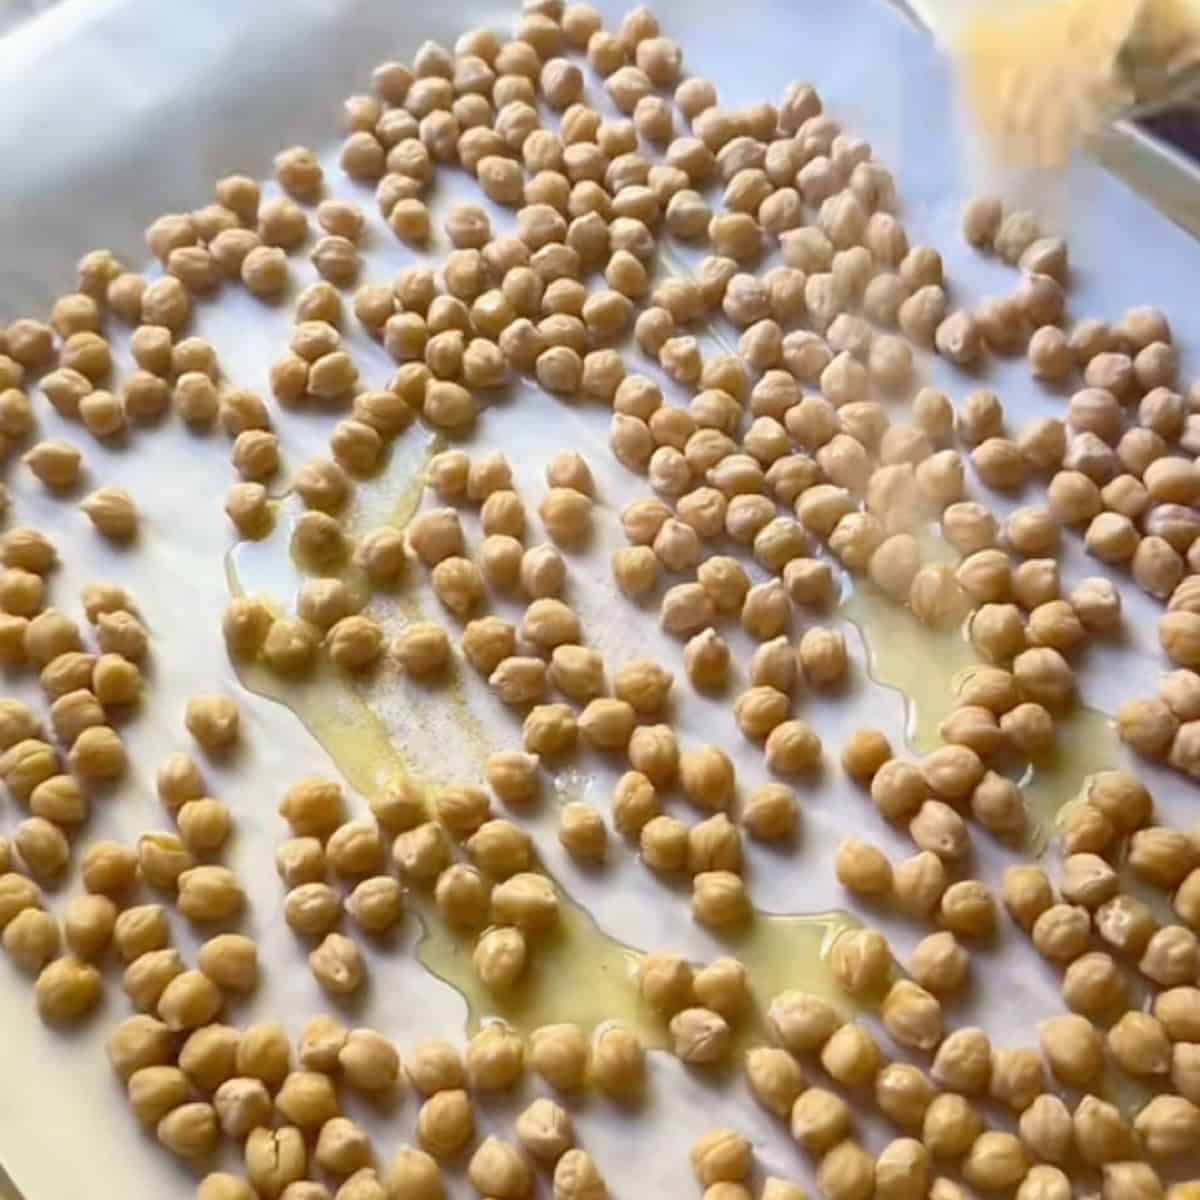
STEP TWO: Roast Until Crunchy
Preheat the oven to 425°F and line an extra-large sheet pan with parchment paper.
Toss the chickpeas with olive oil, garlic powder, onion powder, and salt. Spread them into a single layer and roast for 25 to 30 minutes, shaking the pan about every 10 minutes.
Start checking at the 25-minute mark. Don't rely on their golden color alone. Take one from the pan, let it cool briefly, and taste it. It should already be crisp before you add any Buffalo sauce.
STEP THREE: Add the Buffalo Sauce
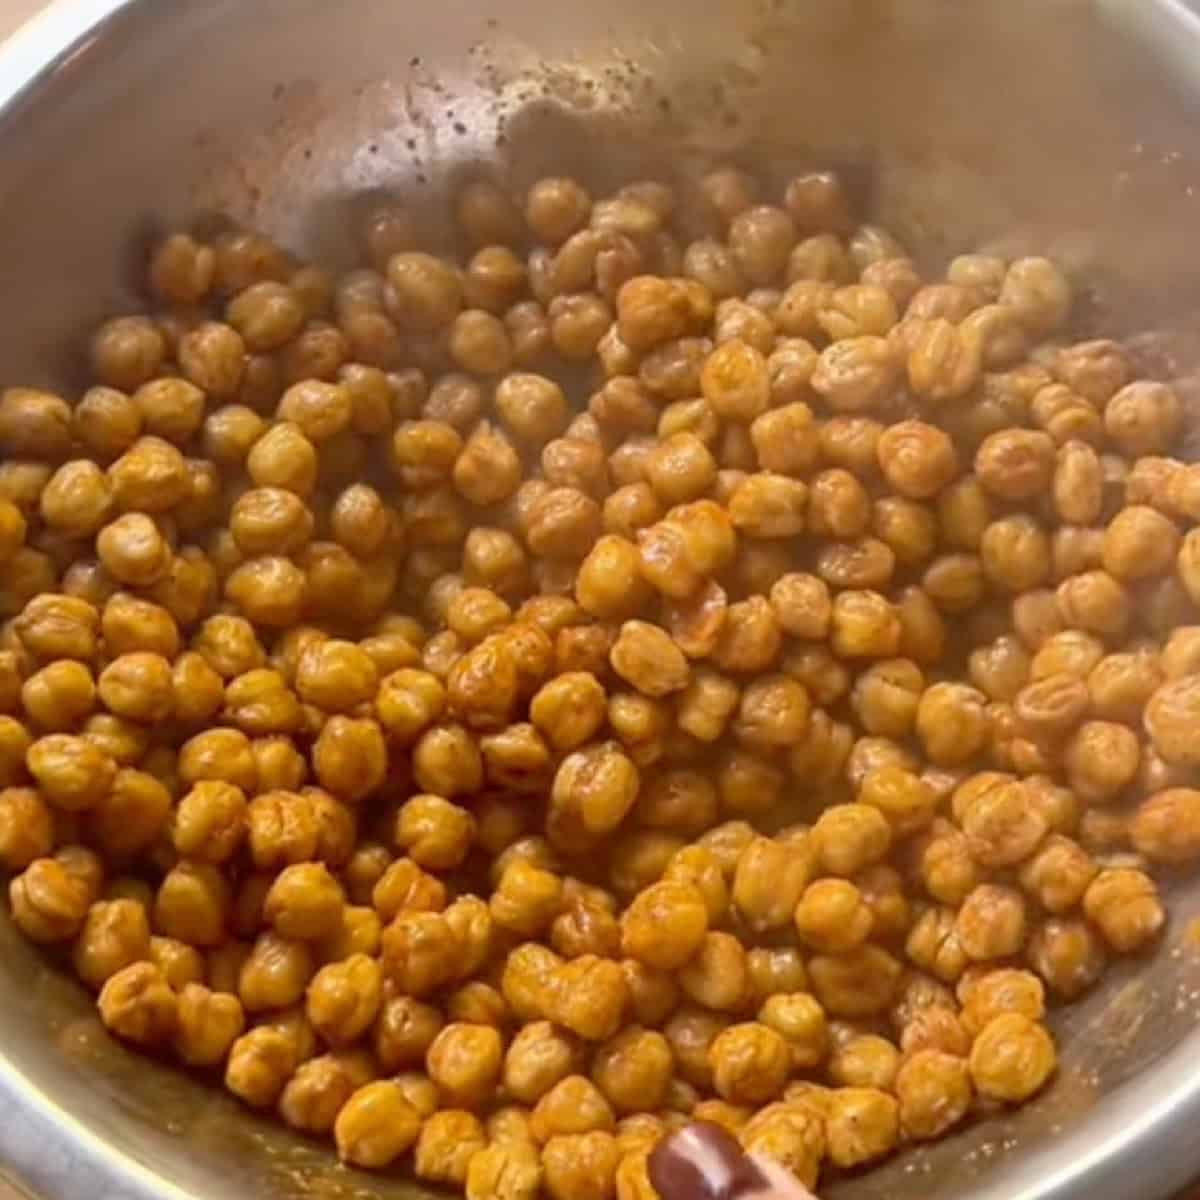
Whisk the melted butter with the hot sauce and optional vinegar.
Transfer the hot, crispy chickpeas to a bowl and immediately toss them with the Buffalo mixture. Return them to the sheet pan and spread them into a single layer again.
Roast for another 5 minutes. You're not trying to substantially cook the chickpeas again. This short second roast helps drive off some of the moisture you've just introduced and sets the Buffalo coating.
STEP FOUR: Finish and Cool
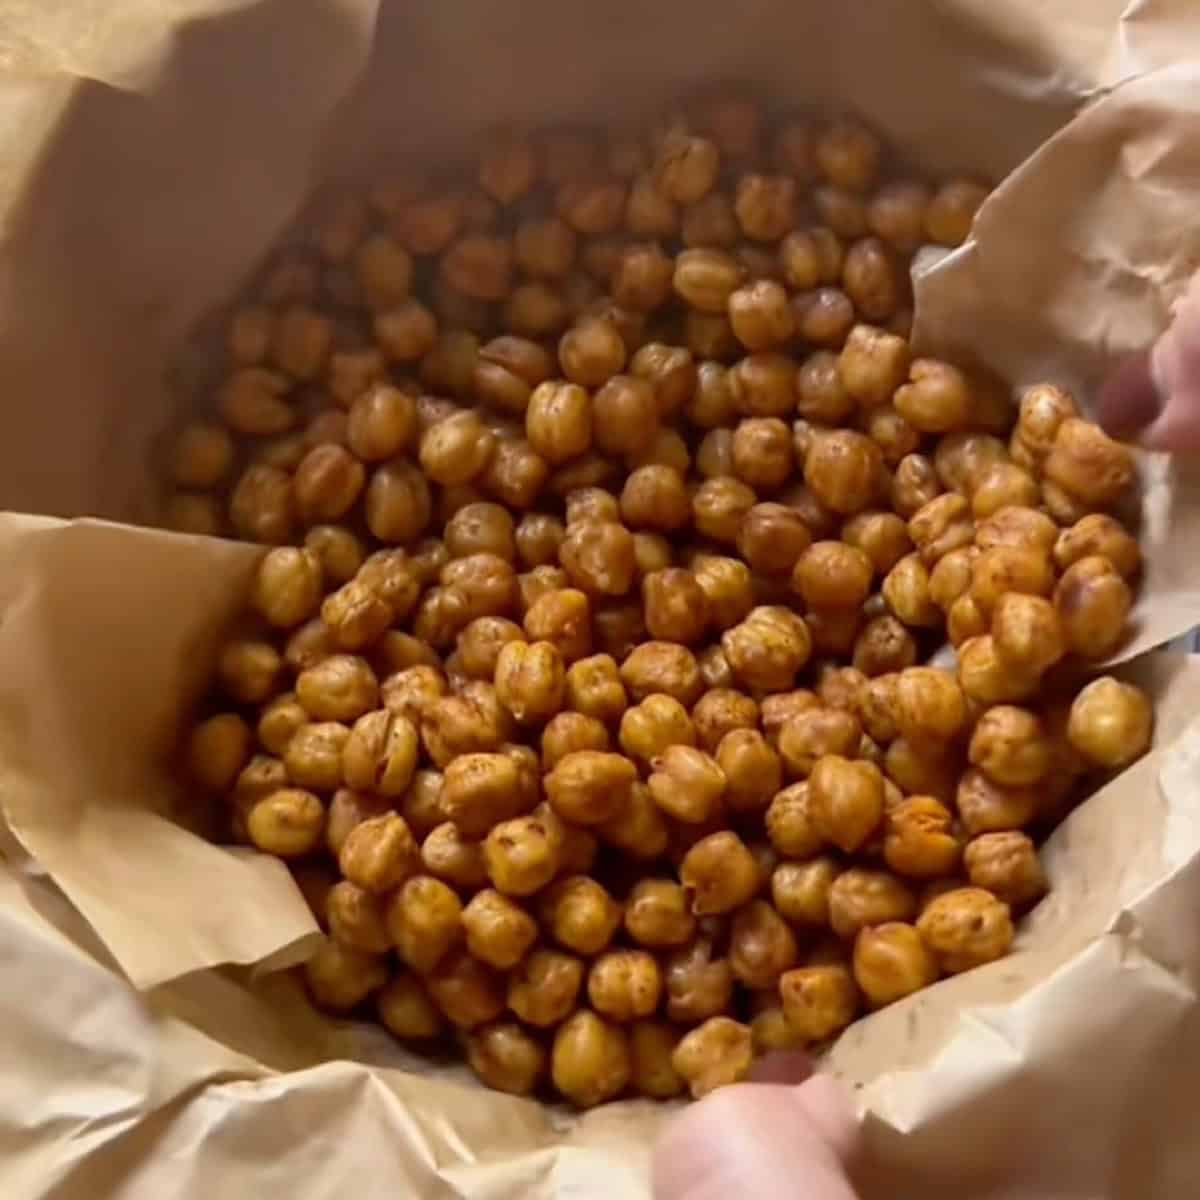
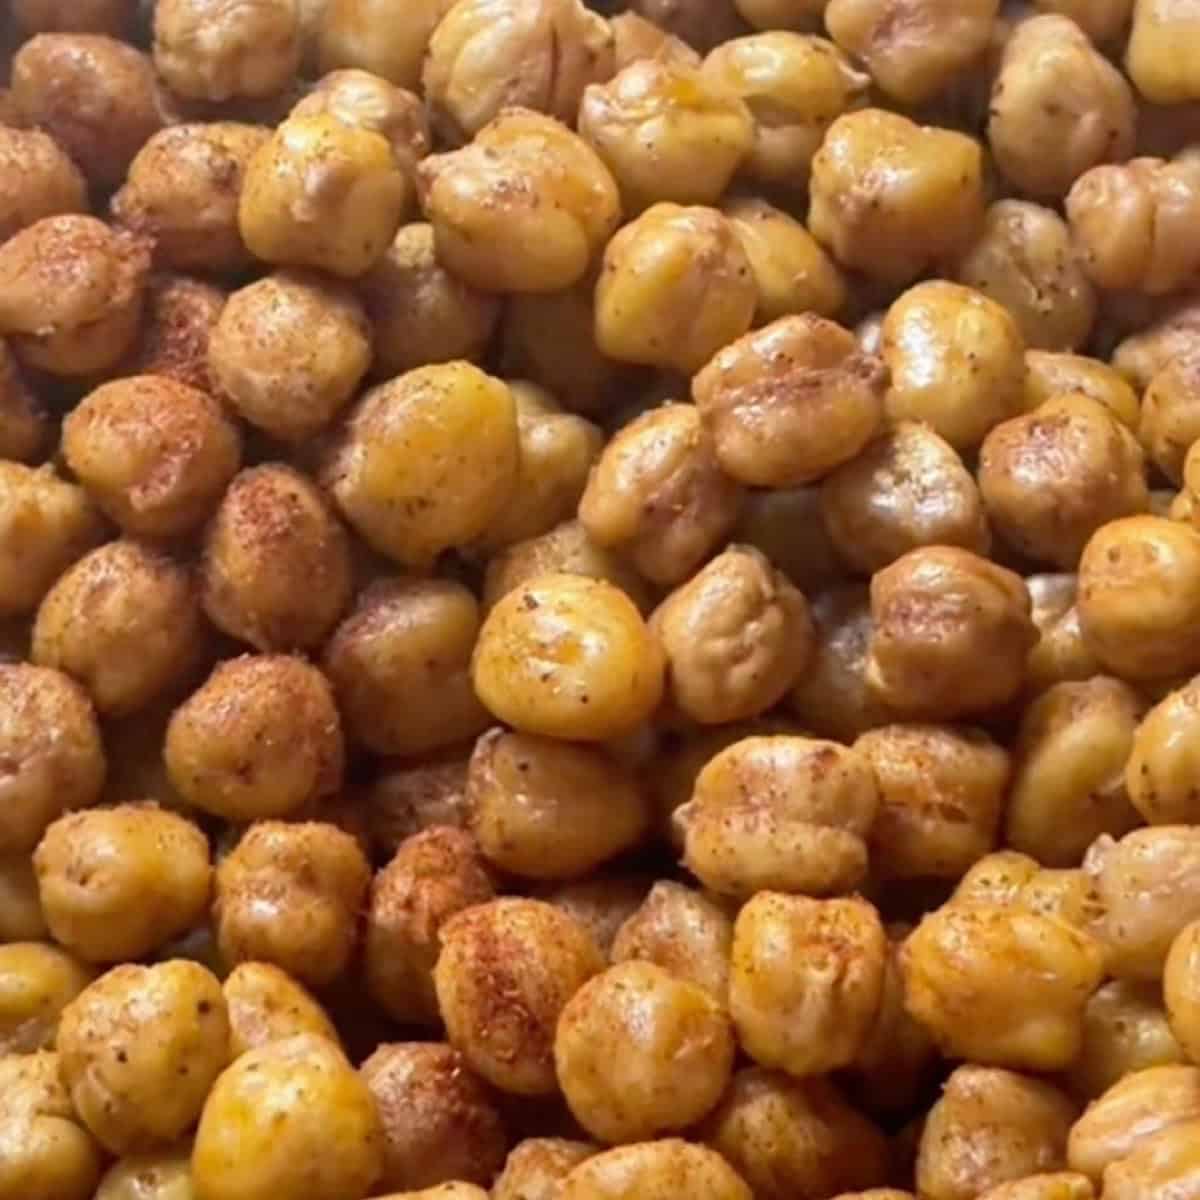
For additional heat and color, combine the paprika, cayenne, and salt and sprinkle it lightly over the hot chickpeas.
Leave the chickpeas uncovered on the sheet pan for 10 to 15 minutes. Don't immediately pile them into a serving bowl or storage container. That traps steam and can soften the exterior.
Expert Tips for Success
👩🍳Jami's Pro Tips: Want to take this recipe to the next level? Check out my expert tips below for the best flavor, texture, and meal prep hacks!
✔️ DO Dry the chickpeas thoroughly. Surface moisture is one of the biggest obstacles to getting them crunchy.
✔️ DO Use an extra-large sheet pan. Give the chickpeas enough room to roast in a single layer.
❌ DO NOT Skip the second roast. The Buffalo sauce adds moisture, so give the coating several minutes in the oven to set.
❌ DO NOT Don't cover them while they're warm. Condensation will work against the crunchy texture.
Save This Recipe 💌
Storage
Crispy Buffalo Chickpeas are best eaten the day they're made because the Buffalo coating gradually softens during storage. Cool leftovers completely before storing them, then re-crisp on a baking sheet at 375°F for 5 to 10 minutes. Freezing isn't recommended because thawing introduces moisture and compromises the crunchy texture.
Crispy Buffalo Chickpeas Recipe FAQs
The most important step is getting the chickpeas thoroughly dry and roasting them until they're crisp before adding any wet sauce. Surface moisture and trapped steam are two of the biggest reasons roasted chickpeas remain soft.
Give them plenty of room on the sheet pan and taste one before adding any coating.
Yes. The process is the same, but you will need to adjust the time. Check them earlier and often since air fryers run hotter and faster than a conventional oven.
It helps, but it is not necessary. The outer skins hold a little extra moisture, which can slow down the crisping process. If you have a few extra minutes, rub them gently with a paper towel after drying, and most of the skins will come right off. If you skip that step, you can still get a good result as long as the chickpeas are thoroughly dried before they go in the oven.
More SNACK Recipes You'll Love ♥️

Did You Try This Recipe?
Leave a ⭐️⭐️⭐️⭐️⭐️ rating and comment below. Don't forget to share it on Instagram, Facebook, & Pinterest. Thank you! 💛
📖 Recipe

Crispy Buffalo Chickpeas
Equipment
- Extra-large sheet pan
- Parchment paper
- Clean kitchen towel or paper towels
- Large Mixing Bowl
- Small bowl
- Whisk
Ingredients
Chickpeas
- 3 (15-ounce) cans chickpeas drained and rinsed
- 2 tablespoons olive oil
- ½ teaspoon garlic powder
- ½ teaspoon onion powder
- ½ teaspoon kosher salt
Buffalo Sauce
- 2 tablespoons unsalted butter melted
- 3 tablespoons Frank's RedHot or Crystal hot sauce
- ¼ teaspoon white vinegar optional
Optional Spicy Finishing Dust
- ½ teaspoon paprika
- ⅛ teaspoon cayenne pepper
- ¼ teaspoon kosher salt plus more to taste
Instructions
- Spread the drained and rinsed chickpeas over a clean kitchen towel or paper towels. Pat thoroughly dry, then let them air-dry for 20-30 minutes. Remove any loose skins that come off naturally.
- Preheat the oven to 425°F. Line an extra-large sheet pan with parchment paper.
- Transfer the dried chickpeas to the prepared pan. Add the olive oil, garlic powder, onion powder, and salt and toss until evenly coated. Spread into a single layer.
- Roast for 25-30 minutes, shaking the pan about every 10 minutes. Begin checking at 25 minutes and continue roasting until the chickpeas are dry and crisp.
- Taste one before proceeding. The chickpeas should be crunchy before adding the Buffalo sauce.
- Whisk together the melted butter, hot sauce, and vinegar, if using.
- Immediately transfer the hot roasted chickpeas to a large bowl and toss with the Buffalo sauce until evenly coated. Return them to the parchment-lined sheet pan and spread into a single layer.
- Roast for another 5 minutes, or until the Buffalo coating has set and no longer looks wet.
- For additional heat, combine the paprika, cayenne, and salt. Sprinkle over the hot chickpeas to taste.
- Let the chickpeas cool uncovered on the sheet pan for 10-15 minutes. They will continue to firm as they cool. Serve warm or at room temperature.
Save This Recipe 💌
Video
Notes
- Pat the rinsed chickpeas very dry and give them additional air-drying time when possible.
- Keep them in a single layer on an extra-large sheet pan so moisture can escape.
- Taste a chickpea before adding the sauce to make sure the center is crisp rather than chewy.
- Let the finished chickpeas cool uncovered for 10 to 15 minutes.

Jami Powell says
This is one of our favorite healthy salty snacks! We make them many different ways and use a variety of spices.